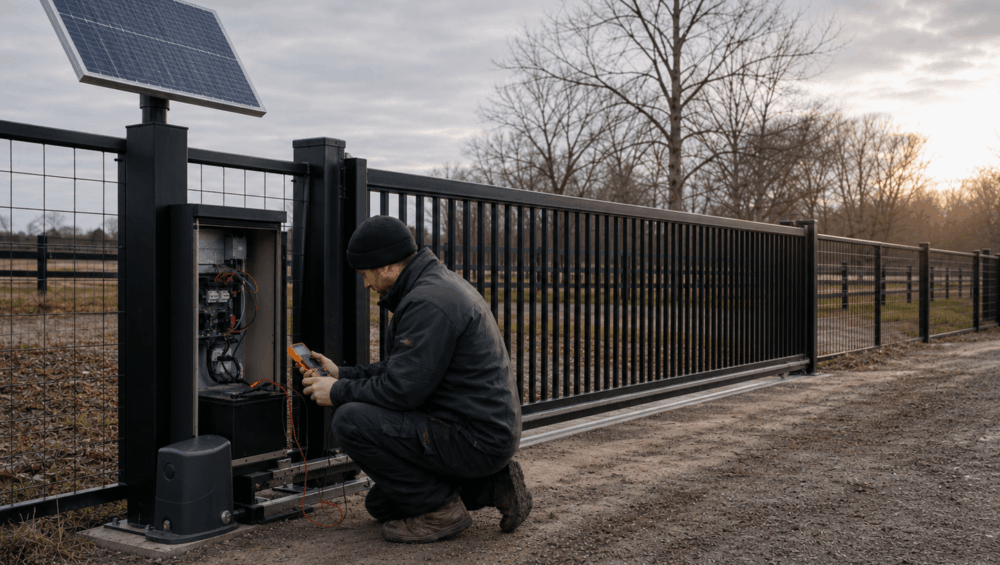
A solar-powered gate may operate reliably throughout spring and summer, then become slow or unresponsive once winter arrives. These seasonal faults can be difficult to diagnose because the problem may disappear temporarily when the sun returns or after the battery is externally charged.
A failing solar gate opener battery is not always defective. Shorter daylight hours, lower winter sun angles, nearby shading, and increased gate resistance can all create an energy deficit. The battery may simply be receiving less energy than the system consumes each day.
Replacing the battery without identifying an underlying charging, mechanical, or electrical problem may briefly restore operation, but the same fault will often return. Let’s figure out a proper investigation for a failing solar gate opener battery in winter.
How a Solar Gate Opener Battery System Should Work
Before testing individual components, it helps to understand how energy should move through the gate automation system. Each part of the solar power chain must function properly for the gate to remain reliable during cloudy weather and periods of limited sunlight.
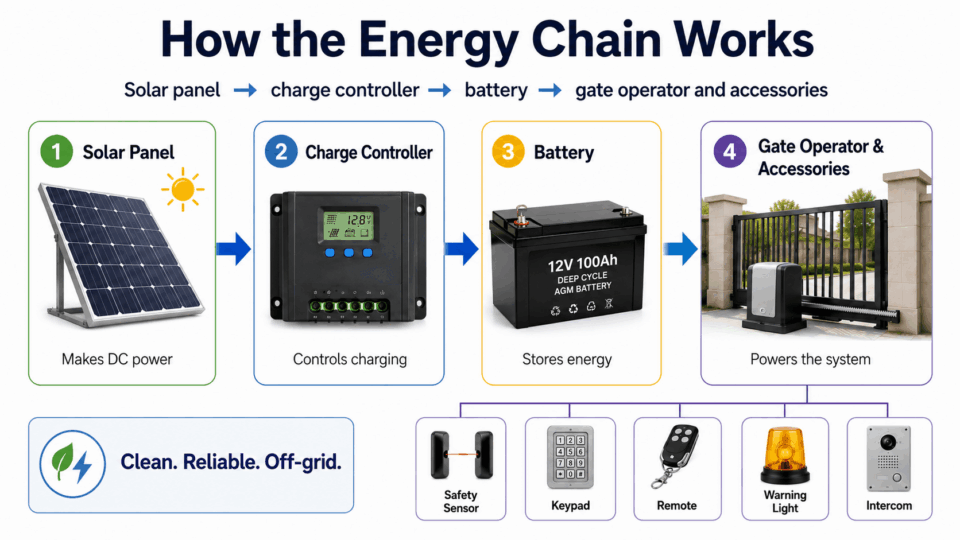
This is how the entire energy chain works:
Solar panel → charge controller → battery → gate operator and accessories
The solar panel converts available sunlight into electrical energy. That energy is sent to the charge controller, which regulates the voltage and current before delivering it to the battery. The battery stores the energy until it is needed by the gate motor, control board, safety devices and connected access equipment.
A solar system should maintain a usable energy reserve. It should not depend on each day’s sunlight to directly power every gate movement. On several cloudy days, the operator draws energy from the battery reserve while the panel restores only a portion of the energy used.
Installers should distinguish between four measurements:
- Battery voltage, which indicates the electrical potential at the terminals
- Battery capacity, which represents how much usable energy the battery can store
- Charging current, which shows how much energy is being delivered to the battery
- Daily energy consumption, which includes both gate movements and continuous standby loads
A battery may show an apparently normal open-circuit voltage but still have very little usable capacity. Once the motor starts and draws significant current, the voltage may collapse, causing the control board to reset.
Winter problems typically occur when the system draws more energy than the panel can consistently return to the solar gate opener battery.
Read more: Solar Sliding Gate Automation – Powered Gate Motors for Sustainable Homes
Recognising the Symptoms of Winter Battery Depletion
Battery depletion rarely begins with a complete system shutdown. In many cases, the first signs appear as inconsistent operation, making the fault look like a control board, remote control, or motor problem.
Common symptoms include:
- Gate movement is becoming slower near the end of travel
- The operator clicks without beginning a cycle
- The control board restarts when the motor activates
- The gate opens successfully but fails to close
- Reduced remote-control or wireless access reliability
- Faults occurring early in the morning
- Problems appear after several cloudy days
- Battery voltage temporarily improves after sunlight reaches the panel
These symptoms become more noticeable when the motor is under load. The control board and receiver may require relatively little current while the system is in standby, allowing indicator lights and wireless controls to operate normally. However, starting the gate motor requires substantially more current.
As a result, the gate may appear fully powered until an opening command is given. The motor then starts, the battery voltage falls sharply, and the controller resets or stops the cycle.
Temporary mains charging, repeated manual resets or disconnecting and reconnecting the battery may hide the pattern. These actions can restore operation without resolving the reason the solar gate opener battery became depleted.
Step-by-Step Diagnosis of a Solar Gate Opener Battery Problem
A systematic process helps installers avoid unnecessary part replacements. The objective is to determine whether the fault originates from the battery, solar input, charge controller, gate mechanics, wiring or overall system design.
Step 1: Make the Gate Safe Before Electrical Testing
Before opening the enclosure or taking measurements, control the work area to prevent the gate from moving unexpectedly. Keep vehicles, pedestrians and site staff away from the travel path.
Follow the gate operator manufacturer’s isolation and testing procedures. Depending on the system, some measurements may need to be taken while the operator is energised and moving. These tests should only be performed by appropriately trained personnel using suitable equipment and safe working practices.
Step 2: Inspect the Battery and Connections
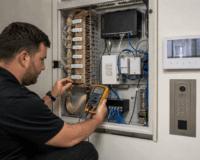
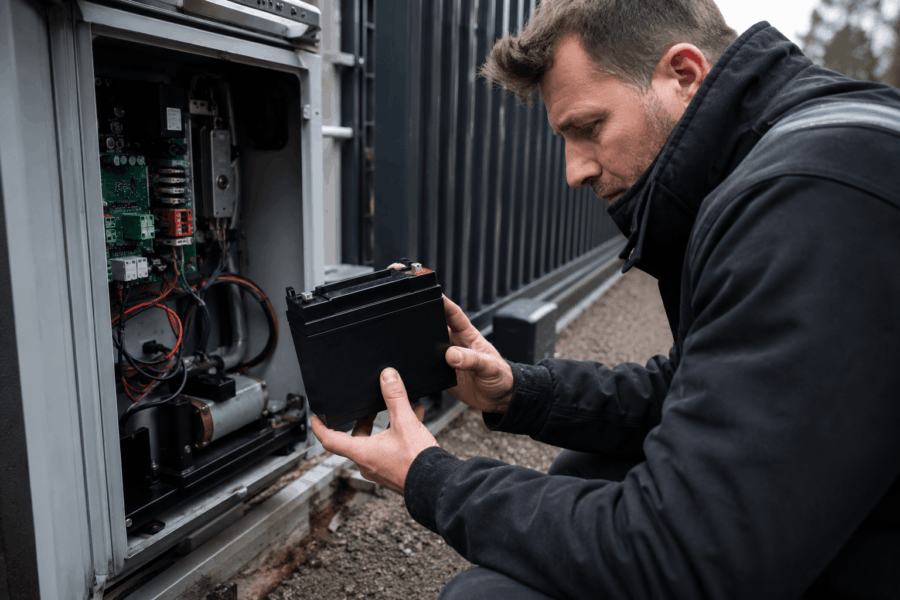
Begin with a careful visual inspection. Check the battery enclosure for moisture, condensation, insect entry, corrosion and evidence of water damage. Examine the battery case for swelling, cracking, discolouration or signs of overheating.
Inspect the positive and negative terminals, fuse holders, cable lugs, crimped connections and earth points where applicable. A loose or corroded connection can create resistance and voltage drop, producing symptoms similar to a weak battery.
Also check the manufacturing or installation date where available. Battery age alone does not confirm failure, but it provides useful context when combined with capacity and voltage testing.
Step 3: Measure Resting Battery Voltage
Measure the battery voltage after the system has been at rest, where practical. Avoid interpreting the result using a single universal voltage threshold, as acceptable readings vary with battery chemistry, temperature, manufacturer, and state of charge.
A low resting voltage may indicate undercharging, excessive discharge or battery deterioration. However, an acceptable resting voltage does not confirm that the battery has enough capacity to operate the gate.
It is recommended to record the resting voltage so it can be compared with the reading taken during gate movement.
Step 4: Test Voltage While the Gate Operates
Monitor the voltage directly at the battery terminals while commanding an opening and closing cycle. Pay close attention to the reading when the motor first starts, as starting current is usually higher than the current required to maintain movement.
A sharp voltage collapse may indicate:
- High internal battery resistance
- Reduced battery capacity
- Loose or damaged connections
- Undersized cabling
- Excessive motor demand
- Mechanical resistance in the gate
Compare the observed voltage behaviour with the battery and operator manufacturer’s specifications.
Step 5: Check Solar-Panel Output
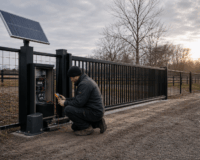
Inspect the solar panel for dust, leaves, bird droppings, moss, physical damage and loose mounting hardware. Even partial shading can significantly reduce energy production, particularly when shadows cross individual panel cells.
Check whether vegetation, fencing, buildings or newly installed equipment now shade the panel during winter. A location that receives adequate summer sunlight may receive much less effective exposure when the sun is lower in the sky.
Confirm that the panel still faces the intended direction and has not shifted on its mounting bracket.
Step 6: Check the Charge Controller
Review the charge-controller indicators, display information and fault codes. Confirm that the controller recognises the correct battery type and is receiving input from the solar panel.
Measure whether the controller is delivering an appropriate charging output to the battery. Investigate reversed polarity, loose terminals, damaged connectors, undersized wiring and excessive voltage drop between the panel, controller and battery.
A controller that remains in an incorrect charging stage may fail to fully restore the battery. In other cases, the controller may be working correctly but receiving too little energy from the panel.
Step 7: Compare Energy Input With Site Demand
Finally, calculate how the system is being used. Estimate the number of gate duty cycles per day and identify every device powered by the battery.
Loads may include photocells, wireless receivers, digital keypads, vehicle loops, wireless vehicle detectors, warning lights, intercoms, cellular modules, routers and access-control equipment.
The diagnosis should determine whether the problem is caused by insufficient solar input, reduced battery capacity, excessive system demand, mechanical resistance or a combination of these conditions.
Problems That Can Look Like Battery Failure
A depleted battery may be the result of another fault rather than the primary cause. It is therefore vital to inspect the complete gate system before assuming the electrical storage component is responsible.
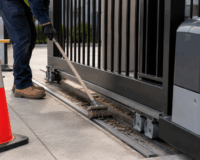
Gate resistance: Damaged hinges, worn rollers, poor alignment, debris in a sliding track or an incorrectly adjusted rack can increase the current required to move the gate. The operator may still function in summer when charging is plentiful, but then struggle during winter when the battery reserve is lower.
Incorrect travel or force settings: A gate that repeatedly presses against a mechanical stop, encounters an obstruction or continues applying force after reaching the end position can waste energy during every cycle.
Insufficient or intermittent charging: Dirty panels, winter shading, damaged solar cables, and loose controller connections can prevent the solar gate opener battery from reaching full charge.
Unexpected standby loads: Access-control upgrades can significantly change energy consumption. An intercom, cellular router or continuously powered detection device may use more energy in standby than the operator consumes during normal gate movement.
High operating frequency: A solar system originally designed for a quiet residential driveway may become unsuitable if the property is converted, traffic increases, or the entrance begins serving commercial vehicles.
DHS gate & door solutions can support an integrated assessment of the operator, gate hardware, safety devices and access equipment. This helps installers and property owners avoid increasing battery or panel capacity simply to compensate for a gate that is binding, incorrectly configured or mechanically unsafe.
Repair, Replace or Upgrade the Solar Power System?
Once the underlying cause has been identified, the installer can decide whether controlled recharging, battery replacement or a broader system upgrade is appropriate.
Controlled recharging may be suitable when a serviceable battery has become temporarily depleted due to unusual weather, accidental panel disconnection, or an isolated charging fault. The battery should still be tested after charging to confirm that it holds energy and performs correctly under motor load.
Replacement is generally more appropriate when the battery cannot retain a charge, collapses significantly under load, has a swollen or damaged case, has lost the capacity required by the operator, or has experienced repeated deep discharges. The manufacturer’s expected service-life range should also be considered.
Installing a higher-capacity solar gate opener battery is not always a straightforward solution. The installer must check the physical enclosure size, battery chemistry, charging compatibility, cable capacity and charge-controller capability. The solar panel may need to be resized or repositioned where winter shading has increased, or the gate’s operating frequency has changed.
Frequently Asked Questions
Why does my solar gate work in summer but stop in winter?
Winter offers fewer effective charging hours, and the lower sun angle can lead to longer periods of shading. Over time, the solar gate system uses more energy than the panel replaces.
Can a solar gate opener battery show normal voltage and still be faulty?
Yes. A weakened battery can show an acceptable voltage at idle but drop sharply when the gate motor draws current. Loaded-voltage testing is therefore essential.
Should installers replace the battery first?
Not automatically. The panel, charge controller, cabling, gate mechanics and connected accessories should also be inspected and tested before replacement.
Can I install a larger solar panel?
Potentially, but the panel must be compatible with the charge controller, battery chemistry and system voltage. Its placement and exposure to winter sunlight must also be assessed.
How often should a solar gate battery be tested?
Battery testing should form part of scheduled gate maintenance. Additional testing is recommended before winter and whenever gate speed, operating frequency or reliability changes.
Maintain Reliable Solar Gate Operation Through Winter
Winter gate faults should be investigated as an energy-system problem rather than treated as an automatic battery replacement job. A reliable diagnosis considers solar production, charging performance, battery condition, electrical demand and the mechanical condition of the gate.
Testing the solar gate opener battery at rest and under load can reveal whether it has sufficient usable capacity. However, installers should also measure the panel current, check controller operation, inspect the wiring, and identify any accessories that create continuous standby demand.
Digital Home Systems supports installers, builders and property owners with gate automation equipment, access-control products, safety devices and integrated technical advice. Explore DHS gate and door automation products or speak with our team about selecting compatible batteries, solar equipment, controllers and accessories for a reliable gate system.
For a new installation, system upgrade, or winter troubleshooting project, contact us today to develop a properly specified solar gate automation solution that delivers dependable access year-round.