A 2 wire to IP intercom retrofit can be an effective way to modernise an ageing apartment or commercial intercom system without replacing its cable throughout the building. In many established properties, the existing intercom has reached the end of its service life, while the original two-core copper wiring remains concealed inside walls.
Replacing that cabling may involve opening walls and coordinating extensive repair work. For builders, strata managers and property owners, the cost and inconvenience can be significant. Meanwhile, some modern intercom platforms can transmit digital audio, video, control data and power over retained two-wire infrastructure.
This article explains how a 2 wire to IP intercom retrofit works, covering common retrofit faults, conditions where old wiring should be rejected, and practical steps installers can take to reduce technical issues after handover.
What a 2 Wire to IP Intercom Retrofit Actually Changes
Before selecting equipment, it is essential to understand which parts of the old system are being retained and where the new IP architecture begins. The term “IP retrofit” can be misleading because it does not necessarily mean every monitor is directly connected to Ethernet.
A conventional analogue two-wire intercom may use a copper pair to carry basic audio, call signalling and door-release commands. In some systems, the same conductors also supply limited power to apartment handsets.
A modern 2 wire to IP intercom retrofit can use the retained pair to carry digitised communication. Depending on the manufacturer and system architecture, the two-wire bus may support video, two-way audio, device addressing, call routing, unlock commands and power for indoor monitors.
A typical signal path may look like this:
Entrance station → two-wire controller or distributor → existing copper riser → apartment interface or indoor monitor
The central controller, gateway or building server may connect to an IP network, while the final connection between a distributor and an apartment continues over the original two-core cable. This arrangement allows the system to support IP-based functions without requiring new Ethernet cabling to every residence.
Installers will generally consider one of three approaches:
- Retain the complete existing two-wire infrastructure.
- Retain the main vertical risers while replacing damaged apartment branches.
- Install Ethernet in accessible common areas and use two-wire conversion only for difficult final runs.
The design documentation should clearly show which sections are Ethernet, which sections remain two-wire and where conversion takes place.
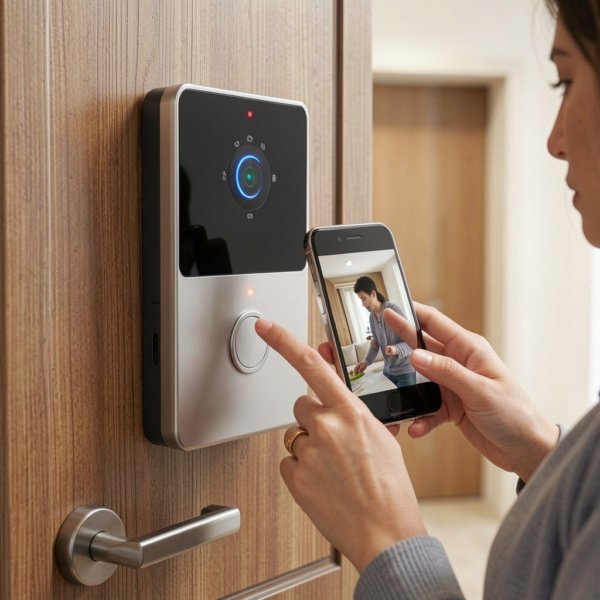
Pre-Installation Assessment for a 2 Wire to IP Intercom Retrofit
The existing copper infrastructure should be treated as an unknown asset until it has been physically inspected and tested. Even when the old intercom is still partly operational, that does not guarantee the cabling will reliably support digital video, powered monitors or modern call functions.
A structured assessment helps the installer classify each riser and apartment branch as suitable, conditionally suitable or unsuitable.
Identify the Existing Wiring Topology
The first step is to determine how the original intercom cabling has been distributed throughout the building.
Common arrangements include home-run cabling from each apartment to a central cabinet, shared vertical risers, and daisy-chained devices. Some buildings use a combination of these methods.
Original drawings can provide a useful starting point, but installers should not rely on them without physical verification. Older properties may contain abandoned cables or branches that no longer match the original design.
The wiring may also have been modified during earlier repair work. For example, a technician may have connected one apartment to a neighbouring branch to restore basic audio service. That alteration may have worked with the old system but create addressing, power or communication problems with the proposed retrofit.
Read more: Network Topology of 2-Wire IP Intercom Systems
Confirm the Number and Type of Conductors
Two visible conductors do not automatically mean that a cable is suitable for a 2 wire to IP intercom retrofit.
The cable may be twisted pair, untwisted security cable, telephone cable or another type of low-voltage conductor. Its conductor size, insulation condition and resistance can affect both communication quality and the amount of power delivered to the endpoint.
Record the cable type wherever it is visible, including at the entrance station, distribution points and apartment monitors. It is also useful to check whether the same cable type has been used throughout the building.
Mixed cable types can create inconsistent performance between floors or apartments. A lower level may operate correctly while a distant branch experiences screen resets or delayed video because the extended section uses thinner cable.
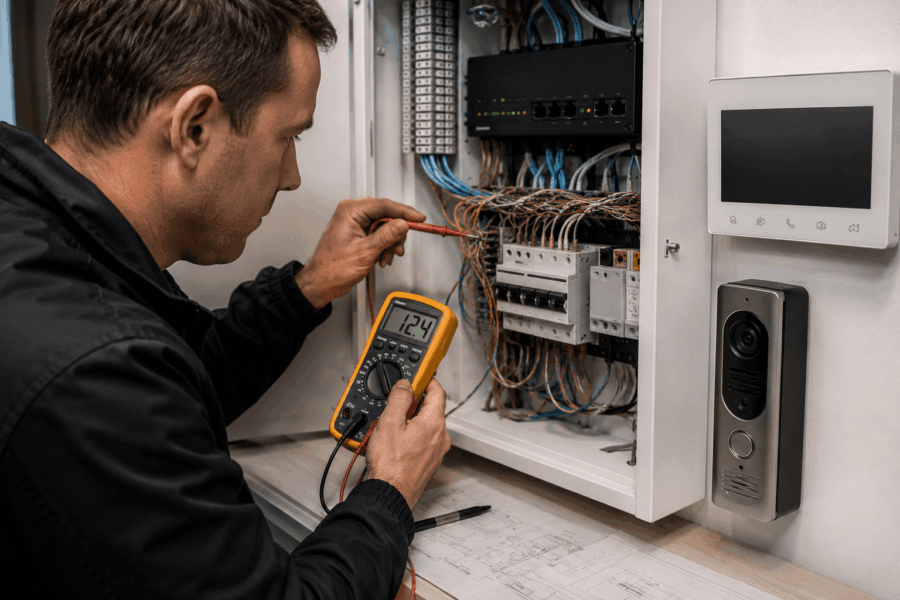
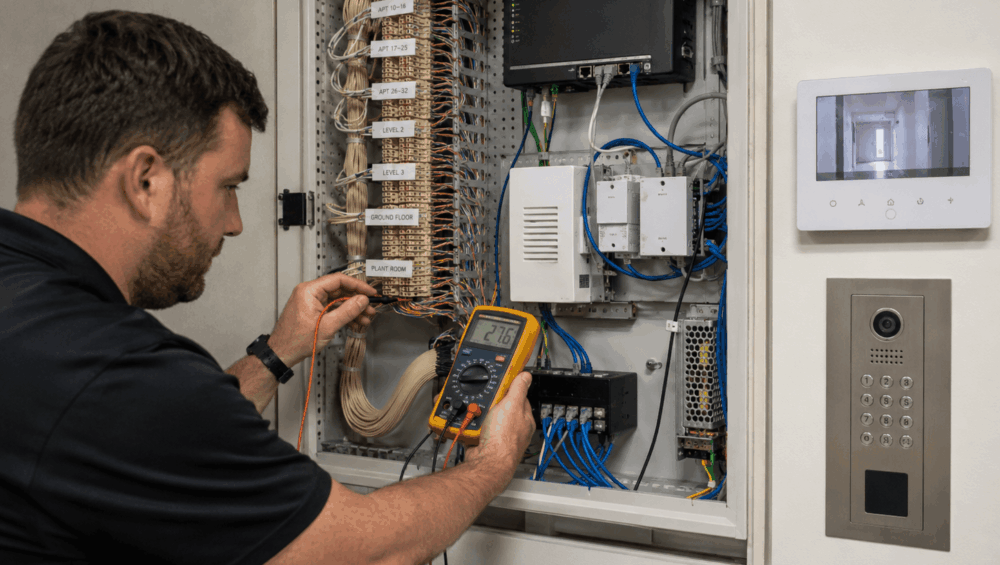
Test Continuity, Resistance and Insulation Condition
The legacy intercom system should be isolated before electrical testing begins. Then, the testing should include:
- End-to-end continuity
- Resistance of each conductor
- Shorts between conductors
- Leakage or insulation faults to earth
- Cross-connections between apartments
- Polarity where the proposed equipment requires it
Moreover, a simple continuity result is not enough. A cable can pass a continuity test while still having excessive resistance caused by corrosion, poor terminals, long distances or undersized conductors.
High resistance can reduce the voltage available at an apartment monitor. The device may appear normal while idle but restart when the screen, speaker or microphone is activated. Video communication may also fail intermittently even though basic audio or call signalling appears to work.
Locate Hidden Joints, Splitters and Previous Repairs
Concealed joints are among the most common risks in legacy intercom upgrades.
Twisted conductors, taped joins, and undocumented splitters may have carried low-bandwidth audio for years. Once the cable is used for digital video, device addressing and power, those weak connections can create intermittent faults.
Installers should inspect accessible communications cupboards, ceiling spaces, floor risers, junction boxes and the locations of removed distribution equipment. Existing terminations should be photographed and labelled before they are disconnected.
Measure Cable Length and Consider Voltage Drop
The maximum supported distance varies between manufacturers and products. It may depend on cable size, topology, the number of devices, distributor placement and whether the two-wire bus carries both communication and power.
It is important to compare measured or estimated cable runs against the approved design limits for the selected platform. A distance supported on one cable type may not be suitable when thinner conductors or several branch connections are present.
Voltage-drop testing should be completed under realistic load where possible. A monitor may receive an acceptable voltage while idle but draw additional current when a call starts, the display activates, or a door-release command is sent.
Check Separation from Mains and Interference Sources
Legacy intercom cabling is not always routed according to current installation expectations. It may run beside mains cables, lift equipment, fluorescent lighting, gate motors, pumps or other sources of electrical noise.
Modern digital systems can tolerate some interference, but poor cable routing may still cause frozen video or communication faults.
At the end of the assessment for your 2 wire to IP intercom retrofit, each cable route should receive a documented result:
- Pass: The cable meets the system requirements and can be retained.
- Conditional pass: The cable may be retained subject to repairs, load testing or other limitations.
- Fail: The cable is damaged, unsupported or unable to provide reliable operation.
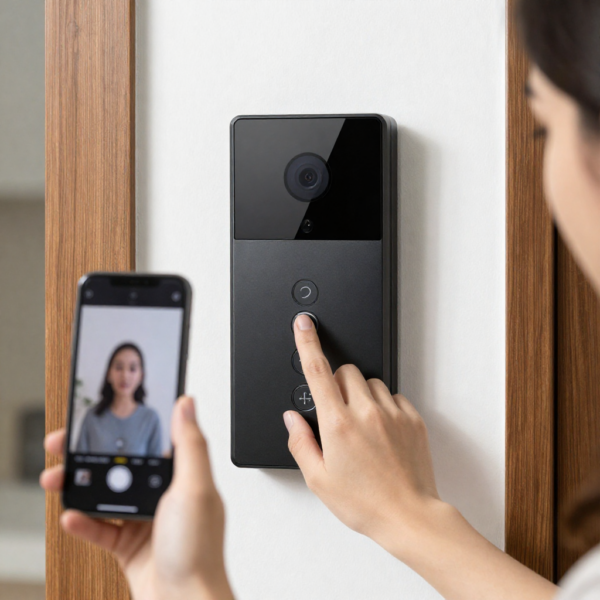
Selecting Conversion Equipment and System Architecture
Once the existing wiring has been assessed, it’s time to select a powerful solution specially designed to retrofit your property’s existing 2‑wire cabling to support full IP video intercom features. A standard PoE entrance station or monitor should not normally be connected directly to an arbitrary copper pair.
Approved conversion equipment may include:
- Two-wire IP controllers or gateways
- Floor and apartment distributors
- Compatible two-wire indoor monitors
- Network switches and router connections
- Dedicated power supplies and battery backup
- Door-release relays
- Lock power supplies
- Access-control or lift-control interfaces
The installer should confirm whether the two-wire bus supplies both communication and power. Some devices may require local power, particularly where long cable runs or high-power screens are involved.
Capacity planning is also essential. A 2 wire to IP intercom retrofit should be designed for the number of apartments, entrance stations, simultaneous calls, concierge stations, mobile-app users and expected future expansion.
Equipment should not be selected solely because the building contains two conductors. Manufacturer-supported branching rules, cable lengths, device limits, termination requirements and distributor quantities must be followed.
Digital Home Systems can assist installers with compatible equipment selection, connection diagrams, integration planning and broader security solutions for intercom, access-control and building-entry projects.
Learn more: Upgrading Legacy Systems with the Akuvox 2-Wire IP Intercom Kit
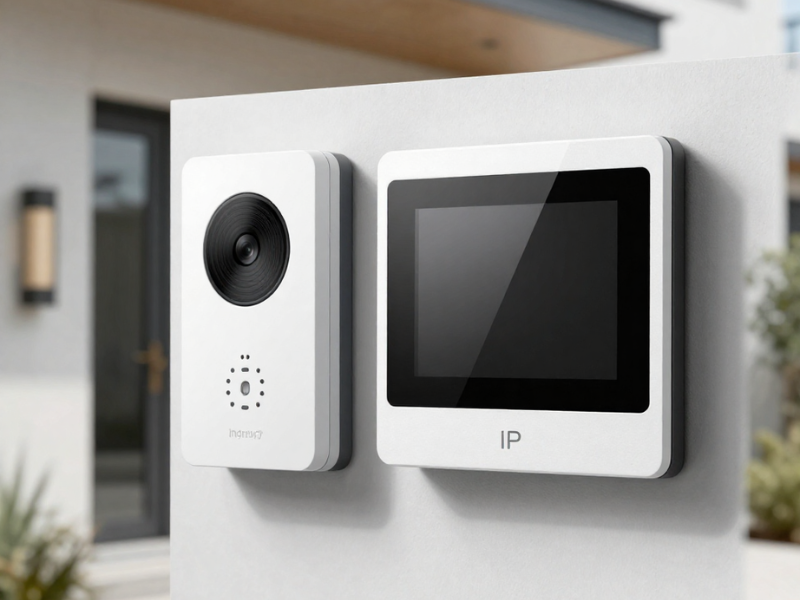
Installation and Commissioning Workflow
A controlled 2 wire to IP intercom retrofit migration process reduces the risk of confusion and makes faults easier to isolate. Rather than disconnecting the whole building and reconnecting every apartment at once, installers should test the new architecture in stages.
- Record and label the existing cables. Photograph each termination and identify risers, floors and apartments before removing the legacy equipment.
- Disconnect redundant power supplies. Confirm that no unexpected AC or DC voltage remains on the retained copper pair.
- Install the central equipment. Position the controller, distributors, network switches and power supplies in an accessible and ventilated location.
- Connect one representative endpoint. Select a long or technically challenging branch and confirm that the equipment operates correctly before migrating the building.
- Add devices in stages. Connect and test each floor, riser or apartment branch individually.
- Configure system functions. Program apartment numbers, entrance destinations, call groups, relay permissions and network settings.
- Complete functional testing. Test audio, video, calls, door release, mobile notifications and missed-call behaviour.
- Save the final records. Back up the configuration and provide updated cable, device and addressing documentation.
Staged commissioning is valuable because a fault introduced by one branch can be identified immediately. When every apartment is connected at once, installers may need to disconnect large sections of the building to locate the problem.
Testing should also be completed while the door lock or gate release operates. Poorly separated power and relay wiring can introduce voltage fluctuations or electrical noise into the intercom system.
Common Retrofit Problems and When Existing Copper Should Be Rejected
Problems that appear after commissioning are not always caused by software or defective equipment. In a 2 wire to IP intercom retrofit, the retained cabling should remain part of the troubleshooting process.
Common symptoms include monitors restarting when a call begins, delayed video, blank screens, devices further along a daisy chain dropping offline and intermittent communication caused by corroded joints.
Excessive voltage drop may affect the highest or most distant apartments first. Previous cross-connections can also cause incorrect apartment addressing or one residence receiving another apartment’s calls.
When these symptoms occur, installers should recheck cable resistance, loaded voltage, branch topology and joint quality before replacing monitors or controllers.
The existing copper should generally be rejected when it has damaged insulation, water ingress, or inaccessible, unreliable joints. Conductors shared with unrelated equipment should also be treated cautiously.
Partial recabling is often more practical than forcing the whole building to operate over unsuitable wiring. For example, new cabling may be installed between the central controller and floor distributors while acceptable apartment branches are retained.
Frequently Asked Questions
Can every old two-wire intercom be upgraded to IP?
No. The cable condition, wiring topology, line length and selected system must be assessed before the existing infrastructure is approved.
Can a standard PoE intercom use existing two-core cable?
Not directly. Approved converters, controllers or two-wire-compatible devices are normally required to carry communication and power over the retained pair.
Does the existing cable need to be twisted pair?
Requirements vary between manufacturers. Some approved systems may operate over untwisted cable, but testing and specified distance limits must be followed.
Can the existing electric lock remain?
Often, yes. The installer must confirm that the lock, power supply and relay arrangement are compatible with the new intercom.
Should installers quote before testing the wiring?
A preliminary estimate may be provided, but final pricing should account for cable testing, documented assumptions and allowances for damaged sections.
Plan a Reliable Intercom Retrofit with Digital Home Systems
A successful 2 wire to IP intercom retrofit can extend the value of existing building infrastructure while introducing modern video calling, mobile connectivity and more flexible access-control functions. However, the retained copper must be assessed as carefully as the new equipment.
By tracing the topology, measuring resistance, checking joints, testing loaded voltage and following manufacturer design limits, installers can reduce commissioning problems and provide clients with a more reliable upgrade.
Digital Home Systems works with installers, builders, electricians and integrators to design and supply intercom systems for apartments, commercial properties and multi-entry developments. Our team can assist with intercom system product specification, two-wire conversion equipment, indoor monitors, entrance stations, network components, access-control integration and technical connection planning.
Contact our team for help designing your next two-wire intercom retrofit.