The Akuvox 2-Wire IP Intercom Kit is designed to deliver professional-grade video performance even in challenging residential and multi-dwelling environments. However, like all IP-based video systems, its real-world performance depends heavily on correct configuration. Factory default camera settings are designed to work “well enough” in most environments, but they are not optimised for every doorway, lighting condition, or building orientation. This buyer’s guide explains how to achieve consistently clear video on Akuvox intercoms by understanding, adjusting, and maintaining camera settings correctly. It is written for homeowners, installers, property managers, and system integrators who want reliable identification quality rather than trial-and-error tuning.
Why Video Quality Issues Are Common on Door Intercoms
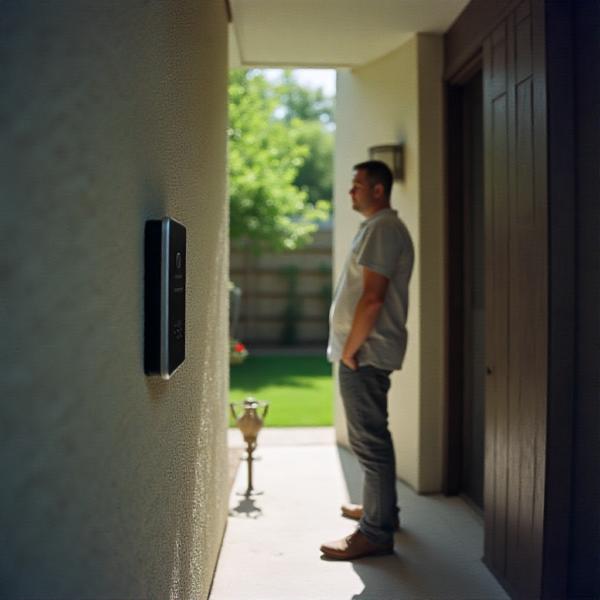
Door intercom cameras face more challenging conditions than most indoor cameras. Unlike surveillance cameras that monitor large spaces, intercom cameras are designed for close-range facial recognition while being exposed to constantly changing lighting conditions.
Common challenges include:
-
Strong backlighting from sunlight behind visitors
-
Sudden transitions between light and shadow
-
Night-time operation with minimal ambient light
-
Reflective surfaces such as glass doors or metal frames
-
Visitors standing too close or too far from the camera
These challenges are exactly why camera settings matter. The Akuvox 2-Wire IP Intercom Kit includes software controls specifically designed to handle these scenarios, but they must be configured intentionally.
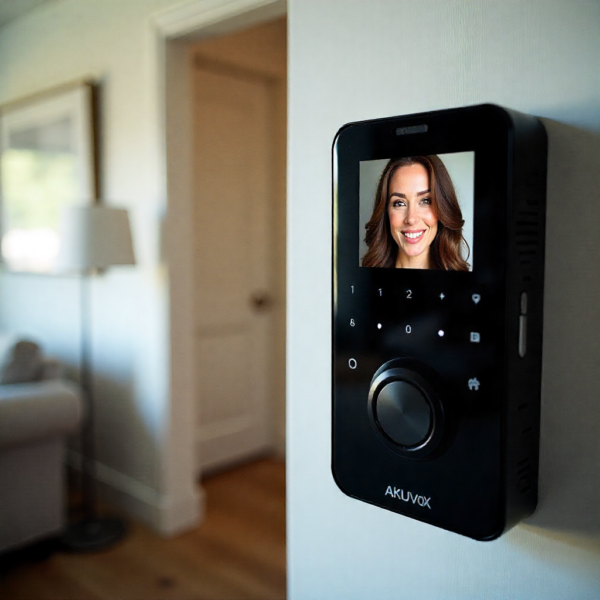
Understanding the Camera System in the Akuvox 2-Wire IP Intercom Kit
Before adjusting any settings, it is important to understand what the camera system is designed to prioritise.
Akuvox intercom cameras are optimised for:
-
Facial recognition at close distances
-
Short interaction times rather than continuous recording
-
Outdoor exposure and weather resistance
-
Integration with indoor monitors and mobile apps
This means the camera is tuned differently from a CCTV camera. The goal is not to capture everything in the background clearly, but to ensure faces are identifiable under all conditions. Every camera setting should be evaluated with this priority in mind.
Resolution Settings: More Detail Isn’t Always Better
Resolution determines how much detail the camera captures, but higher resolution does not automatically guarantee better results.
When High Resolution Helps
-
Identifying facial features
-
Reading badges or uniforms
-
Improving clarity on larger indoor monitors
When High Resolution Can Hurt
-
Increased bandwidth usage
-
Higher processing load
-
Potential lag on slower networks
For most installations using the Akuvox 2-Wire IP Intercom Kit, selecting the highest stable resolution supported by the network delivers the best balance. However, if video freezes or delays occur, reducing resolution slightly often improves real-world usability more than pushing for maximum pixel count.
Frame Rate: Prioritising Stability Over Smoothness
Frame rate controls how many images are shown per second. While higher frame rates look smoother, they are not always necessary for intercom use.
Door intercom interactions are brief and relatively static. A visitor usually stands still while speaking, making ultra-smooth motion less important than clarity and reliability.
Recommended Approach
-
Use a moderate frame rate (15–20 fps)
-
Avoid pushing to maximum frame rates unless required
-
Prioritise consistent performance over visual smoothness
The Akuvox 2-Wire IP Intercom Kit performs best when frame rate settings are chosen with network stability in mind.
Brightness and Contrast: Making Faces the Priority
Brightness and contrast have the greatest impact on whether a face is recognisable.
Brightness Adjustments
Brightness controls the overall light level of the image. Too much brightness causes facial features to wash out, while too little hides details in shadow.
Contrast Adjustments
Contrast defines the difference between light and dark areas. High contrast increases visual punch but can remove subtle facial details.
Practical Tuning Process
-
Adjust brightness so faces are clearly visible
-
Increase contrast slightly until facial features stand out
-
Avoid extremes that distort skin tones
Always prioritise faces over background scenery. The Akuvox 2-Wire IP Intercom Kit is designed to make faces readable, even if the background appears less detailed.
Wide Dynamic Range (WDR): Essential for Outdoor Installations
Backlighting is the most common cause of poor intercom video. When a visitor stands with bright daylight behind them, their face can appear as a silhouette.
How WDR Works
WDR processes bright and dark areas separately, balancing exposure across the image.
Best WDR Practices
-
Enable WDR for all outdoor installations
-
Start with moderate WDR levels
-
Increase gradually if faces remain dark
-
Avoid maximum WDR unless absolutely necessary
Overuse of WDR can make images appear artificial. Proper tuning on the Akuvox 2-Wire IP Intercom Kit delivers natural-looking faces even in strong sunlight.
Exposure Control: Reducing Blur and Overexposure
Exposure determines how long the camera sensor collects light for each frame.
-
Long exposure improves low-light performance
-
Short exposure reduces motion blur
Recommended Settings
-
Use automatic exposure as the baseline
-
Limit maximum exposure time if motion blur occurs
-
Avoid forcing manual exposure unless lighting is consistent
Akuvox cameras are designed to adjust dynamically, but setting reasonable limits improves reliability.
Night Mode and Infrared (IR) Performance
Night-time video quality is just as important as daytime performance. Poor IR configuration can result in overexposed faces or washed-out images.
IR Optimisation Tips
-
Ensure the lens is clean
-
Avoid reflective surfaces near the camera
-
Adjust IR strength if faces appear too bright
-
Test night mode at different distances
The Akuvox 2-Wire IP Intercom Kit is optimised for close-range IR performance, making correct tuning critical for facial clarity.
Sharpness and Noise Reduction: Finding the Balance
Sharpness enhances edges, while noise reduction smooths grainy images.
Sharpness
-
Too high: unnatural halos around faces
-
Too low: soft, unfocused appearance
Noise Reduction
-
Too strong: loss of detail
-
Too weak: grainy night images
Moderate values for both settings usually produce the most natural and readable video on Akuvox intercoms.
White Balance: Keeping Colours Natural
White balance ensures colours appear accurate under different lighting.
Best Practice
-
Use auto white balance in most environments
-
Switch to manual only if lighting is constant and unusual
-
Avoid frequent manual changes
Accurate colour helps with facial recognition and overall video quality.
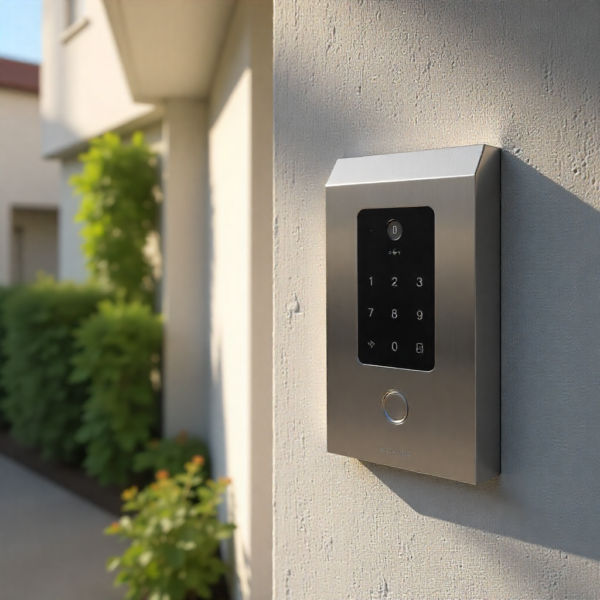
Camera Angle, Height, and Mounting: The Hidden Factors
Even perfect camera settings cannot compensate for poor installation.
Mounting Best Practices
-
Install at recommended height (approximately face level)
-
Angle slightly downward
-
Avoid pointing directly at the sky
-
Minimise harsh shadows
Correct mounting allows the Akuvox 2-Wire IP Intercom Kit to perform optimally without extreme software adjustments.
Network Stability and Video Quality
Video quality is often blamed on camera settings when the real issue is network performance.
Network Considerations
-
Ensure stable power delivery
-
Avoid congested networks
-
Use quality switches and cabling
-
Test latency and packet loss
A stable network ensures the configured camera settings deliver consistent results.
Testing Camera Settings in Real-World Conditions
Camera configuration should never be finalised based on a single test.
Test Scenarios to Include
-
Morning sunlight
-
Midday glare
-
Evening shadows
-
Night-time darkness
-
Different visitor heights
The Akuvox 2-Wire IP Intercom Kit performs best when settings are validated across all expected conditions.
Common Configuration Mistakes to Avoid
Many users unintentionally degrade video quality by:
-
Leaving default settings unchanged
-
Overusing sharpening or WDR
-
Ignoring night performance
-
Adjusting settings without testing
Understanding what each setting does prevents overcorrection.
Buyer Considerations: Choosing the Right Akuvox Intercom Model
When selecting an Akuvox 2-Wire IP Intercom Kit, consider:
-
Camera resolution
-
WDR capability
-
IR performance
-
Monitor compatibility
-
Firmware support
Hardware capability and software configuration must work together.
Maintenance for Long-Term Video Quality
Even a perfectly configured system requires maintenance.
Maintenance Checklist
-
Clean lens regularly
-
Check mounting alignment
-
Review settings after firmware updates
-
Test night mode periodically
Regular maintenance preserves clarity and reliability.
When Settings Aren’t Enough: Hardware Limitations
If video quality remains poor despite optimisation:
-
Review installation angle
-
Check lighting conditions
-
Consider environmental glare
-
Evaluate camera model capabilities
Sometimes upgrading hardware is the only solution.
Final Buyer Checklist for Clear Akuvox Video
Before finalising setup:
-
Confirm resolution and frame rate
-
Optimise brightness, contrast, and WDR
-
Tune night mode and IR
-
Verify mounting height and angle
-
Test under real conditions
Conclusion: Clear Video Is a Configuration Process, Not a Default Feature
The Akuvox 2-Wire IP Intercom Kit is capable of delivering excellent video quality, but only when its camera settings are configured correctly. Clear video is the result of informed adjustments, proper installation, and ongoing maintenance—not factory defaults.
By understanding how each camera setting affects real-world performance, buyers and installers can ensure that every interaction is clear, reliable, and confidence-inspiring.
For anyone investing in an Akuvox intercom system, optimising camera settings is not optional—it is essential to getting full value from the technology.