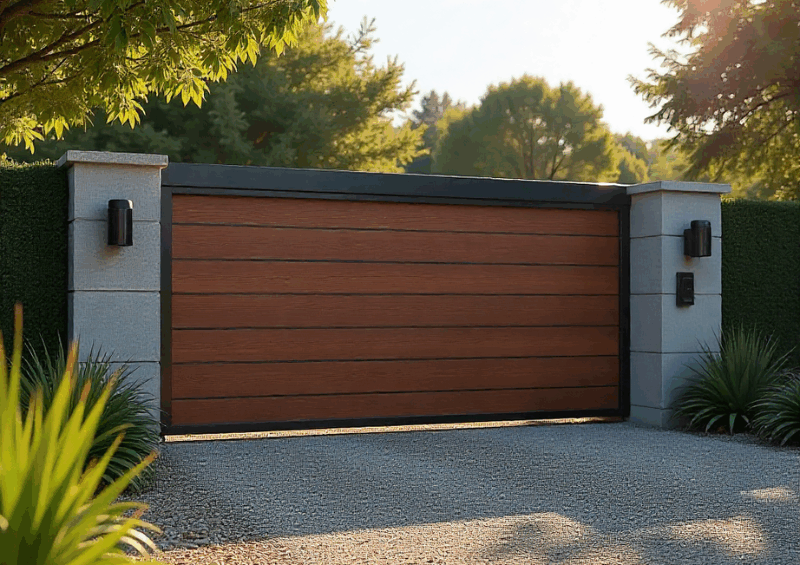
Sliding gates have become one of the most popular security and convenience upgrades for residential and commercial properties. Whether you want smoother access to your home, stronger perimeter security, or the added prestige of a fully automated entrance, setting up Sliding Gate Automation on your driveway is one of the most effective investments you can make. Modern systems are far more reliable, safer, quieter, and easier to install than ever before, making them accessible to a wide range of property owners.
While many homeowners choose to hire a technician for installation, understanding how automation works and how to set it up on your own driveway can help you make smarter decisions, reduce costs, and ensure long-term performance. This guide walks you through everything you need to know—from choosing the right system and preparing your driveway, to installing hardware, configuring safety devices, and maintaining the system over time.
This comprehensive article is designed for homeowners, installers, builders, facility managers, and anyone who wants clear and practical steps to set up Sliding Gate Automation on virtually any driveway.
Understanding How Sliding Gate Automation Works
Before beginning any installation, it’s helpful to understand what makes sliding gates function smoothly. An automated sliding gate system typically consists of a gate motor, a rack and pinion or chain drive, rollers and track, safety sensors, a control board, and activation devices such as remote controls, keypads, or smartphone integration. When commanded, the motor engages with the drive mechanism, pulling the gate along its track to open or close.
Most modern Sliding Gate Automation systems include soft-start and soft-stop technology that prevents abrupt movements, increasing safety and extending the lifespan of mechanical components. Safety sensors ensure the gate stops or reverses when an obstacle is detected, while advanced control boards provide configuration options for speed, force, auto-close timing, and wireless connectivity.
By understanding the basics of these components, you’ll be better prepared to choose the correct motor, install the system correctly, and troubleshoot future issues.
Choosing the Right Sliding Gate Automation System
Selecting the appropriate motor and automation system is one of the most important steps in achieving reliable long-term performance. The weight, width, slope, wind exposure, and construction of your gate all influence the type of motor you need. Lightweight aluminum gates may only require a small domestic motor, while large steel gates or gates exposed to strong winds may need a heavy-duty, commercial-grade system.
Duty cycle is another key factor. A typical home driveway may open 10–20 times a day, while commercial or industrial properties may require hundreds of cycles. Choose a motor rated for the expected usage to avoid overheating or premature wear.
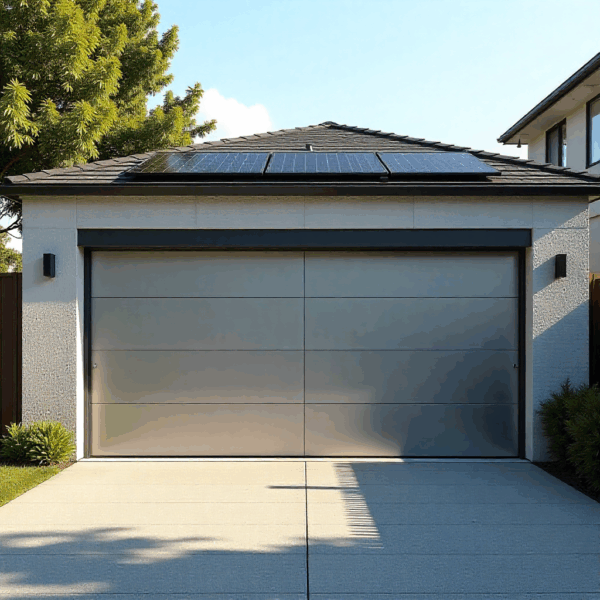
Power options matter as well. Most systems run on mains power with low-voltage control circuits, while some offer solar-powered alternatives for rural or off-grid applications. If your driveway is far from the nearest power source, solar kits can dramatically reduce installation complexity.
Once you have chosen the correct motor and drive mechanism, consider the optional features such as smartphone control, Bluetooth activation, keypad entry, intercom integration, or full home automation compatibility.
Preparing the Driveway for Installation
A stable, clean, and properly aligned driveway surface is essential for successful Sliding Gate Automation. Begin by examining the ground where the gate will slide. It must be level, free from obstructions, and capable of supporting the track and rollers.
If the ground is uneven, sloped, or soft, concrete pads or reinforcement may be required. The track must be perfectly straight to prevent friction and strain on the motor. Many gate failures are caused by poor ground preparation rather than motor issues, so this step is crucial.
Remove any debris, plants, rocks, or old materials from the path of the gate. If your gate is not yet installed, ensure it is mounted with high-quality brackets, posts, and rollers that can handle long-term use. Gate alignment should be perfect before adding automation.
Installing the Gate Track and Rollers
The track is the foundation of your sliding gate system. A poorly installed track will cause the gate to scrape, jam, or place excessive force on the motor. Position the track on the driveway where the gate will slide, then check alignment using a straight edge or laser level. Fix the track firmly using anchors or concrete depending on the driveway material.
Once the track is secured, install the rollers or wheels under the gate. Test the gate manually to ensure effortless sliding. You should be able to move the gate smoothly with one hand. Any grinding, binding, or resistance indicates alignment issues or roller problems that must be corrected before installing the motor.
Smooth manual operation is a strong indication that your Sliding Gate Automation system will perform well once automated.

Positioning and Mounting the Motor
The motor must be securely mounted on a concrete pad positioned beside the track. Start by placing the motor near the gate in the correct orientation so the pinion gear aligns with the rack. Mark the mounting holes, drill into the concrete, and secure the base plate using heavy-duty anchors.
Place the motor on the base plate and adjust its height so the pinion gear sits flush with the rack when the gate moves. A loose or misaligned motor will cause noise, slipping, or failure during operation. When everything aligns properly, tighten the bolts firmly to eliminate movement or vibration.
Installing the Drive Rack or Chain System
Most sliding gate systems use a drive rack that attaches along the bottom of the gate. Position the rack so it contacts the pinion evenly across the full travel distance. Install the rack piece by piece, ensuring each section aligns perfectly with the previous one. Gaps or misalignment can cause jerking motions or damage to the motor.
As you install each rack section, manually move the gate over the pinion to confirm smooth engagement. Once the entire rack is installed, test it again. Smooth movement means the system is ready for power.
Connecting the Control Board and Power Supply
With mechanical elements installed, it’s time to wire the motor and control board. Begin by connecting the motor cables, limit switch wires, and power cables according to the manufacturer’s wiring diagram. Use waterproof conduits if the system is exposed to weather.
Many Sliding Gate Automation systems require a 230V or 240V mains connection, while others use low-voltage transformers. Ensure that all electrical work complies with local safety standards. If you are not experienced with electrical systems, hiring a licensed electrician is strongly recommended.
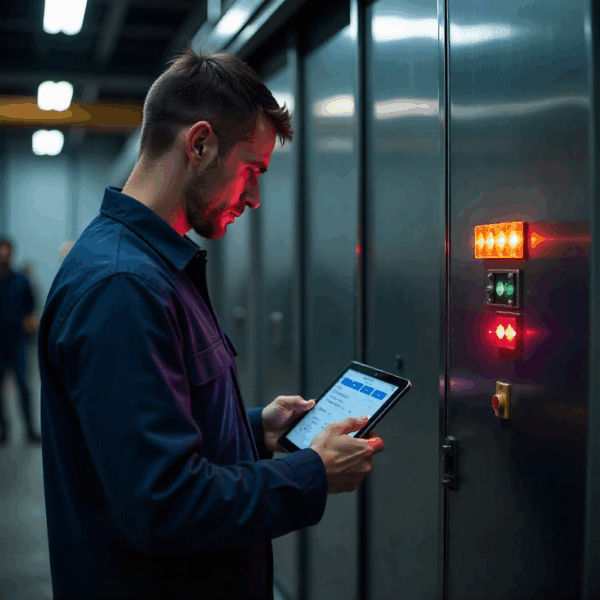
Once power is connected, the control board will initialise. Some models include digital displays, LED indicators, or smartphone apps to assist in setup.
Setting Up Gate Limits and Auto-Close Functions
Limit settings tell the motor when to stop at the open and closed positions. These settings ensure your gate does not overrun its travel path or apply undue stress on the rack. Depending on your motor, limit setup may be mechanical (using limit magnets or switches) or digital (using the motor’s learning function).
After setting the limits, configure auto-close timing if desired. Auto-close ensures the gate closes automatically after a set time, improving security and reducing the chance of leaving your driveway open accidentally.
Most systems allow you to set auto-close anywhere from 5 seconds to several minutes. For safety and convenience, many homeowners choose a setting between 10 and 30 seconds.
Configuring Remote Controls and Access Devices
Pairing remote controls with your Sliding Gate Automation system is typically straightforward. Press the learn button on the control board, then press the desired button on the remote. You can pair multiple remotes, giving access to all family members or authorized personnel.
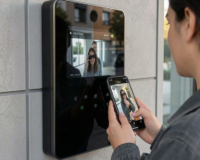
Other access devices such as wireless keypads, intercoms, RFID readers, or smartphone apps may require separate configuration. Follow the manufacturer’s instructions to link these devices to the control board. Smartphone systems typically require WiFi or Bluetooth pairing.
Ensure all access devices are tested before completing installation, and verify their range, reliability, and response time.
Installing Safety Sensors and Photocells
Safety sensors are one of the most critical components of any Sliding Gate Automation system. They prevent the gate from closing on a vehicle, person, or pet. Install photocells at both sides of the gate opening. Align them carefully to ensure strong signal detection.
Some systems include multiple sensor types such as infrared beams, laser sensors, or pressure-sensitive edges. Connect all sensors to the control board following the wiring diagram.
Test thoroughly by placing an object in the gate’s path during closing. The gate should stop or reverse immediately. Never operate an automated gate without functional safety devices in place.
Upgrade your system with the perfect motor. Learn how to compare power ratings, gate weights, and features in our motor selection guide
Testing the Full Gate Operation
Before finishing the installation, perform a complete operational test. Open and close the gate repeatedly using different access devices. Listen for unusual sounds, verify smooth movement, and observe the gate’s speed and stopping positions.
Check the motor temperature after several cycles. It should remain warm but not overly hot. If the motor overheats quickly, review your gate alignment or adjust the force settings in the control board.
Test safety sensors again, ensure auto-close timing works as configured, and verify remote controls at various distances.
A careful, thorough test will help identify any issues before the system is put into regular use.
Fine-Tuning Speed, Force, and Soft-Start Settings
Modern Sliding Gate Automation systems include adjustable settings for speed, force, and soft-start/soft-stop behavior. Adjust speed settings to fit your driveway. Faster opening speeds are convenient, but slower speeds may be safer in crowded environments.
Force settings control how much push the motor applies when encountering resistance. Low force is safer but may cause issues if the gate track becomes slightly obstructed. Find a balance between safety and functionality.
Soft-start and soft-stop settings reduce wear on mechanical parts and create smoother operation. Enabling these features is recommended for nearly all installations.
Long-Term Maintenance for Sliding Gate Automation
Even though sliding gates are designed for long-term durability, regular maintenance ensures optimal performance. Maintenance tasks include cleaning the track, lubricating rollers, checking sensor alignment, tightening hardware, and removing debris.
Electrical components such as the control board and motor should be inspected for moisture, dust, or insect intrusion. Gate alignment should be checked annually, especially in areas with shifting soil or high traffic.
Well-maintained Sliding Gate Automation systems can last 10–20 years or longer with minimal mechanical issues.
Troubleshooting Common Issues
Common issues include noisy operation, gate not responding to remotes, gate stopping halfway, or motor overheating. Noisy operation often indicates debris on the track or dry rollers. Unresponsive remotes may require battery replacement or antenna adjustment. A gate stopping halfway may be due to dirty sensors, misaligned rack sections, or insufficient lubrication.
Motor overheating may indicate excessive gate weight, obstructed movement, or poor force calibration. In most cases, troubleshooting is simple, but persistent issues may require professional assistance.
Final Thoughts
Installing Sliding Gate Automation on your driveway is one of the best ways to enhance security, convenience, and property value. With the right motor, proper groundwork, careful installation, and routine maintenance, your gate will deliver smooth and reliable performance for many years.
Ready to automate your driveway? Explore our premium Sliding Gate Automation and choose the perfect model for your property.